Tag Archives: thrifty

Dalek Costumes for under $20 – Geeky Parenting & Thrifty Thinking

These are Daleks.

Image

The Daleks are a powerful race bent on universal conquest and domination, utterly without pity, compassion or remorse. They have had every emotion removed, except hate and have a desire to purge the Universe of all non-Dalek life. They are the greatest enemies of the Time Lord known as the Doctor and are popularly known for their catchphrase “Exterminate!”

You will need

A large, long t shirt $4

Roll of black duct tape $3.50

At least 18 plastic eggs $3

Black spray paint $1

Basic plunger $5

Fabric adhesive $3

Start by taping off the shirt. 

I ripped my duct tape strips into halves and quarters to get the right looks and widths all across.

Do the same pattern on the back and let them connect down the sides of the shirt for an all around look.

 Image

I also cut of the sleeves of the shirts so they would appear more as an apron then a big ol’ baggy shirt and tucked the jagged edges inside and made them stick the with adhesive.


Next I tore 18 Easter eggs and half and tossed out all but two top, oval shaped, top parts. (i saved them to glue on a headband for blinky head lights) All the bottom, round, parts I spread out over a garbage bag and spray painted them black, it took about two or three coats to get them covered as well I needed.

Image


After drying I took 9 black, egg bottoms and made three rows of three on the front of the shirt.

I used the fabric adhesive around their edges and stuck them back into place. After letting them sit for a few minutes I repeated the gluing in three rows of three on the back. I then allowed the shirts to sit overnight to make sure the glue was dry.

Image

 (Did not realize that tiny applesauce covered hands had just wiped their war across the rug before taking this picture.)

To make the shape at the bottom (will have to remember to get a picture of it) I cut three strips of cardboard from an old box we had lying around and duct taped them into a triangular shape, with the top point facing forward. I then simply duct taped it into the bottom of the shirt and when we were done with the costume, I pulled it out and stored it.


*I also saved two oval shaped egg tops in yellow to hot glue onto a plain headband for the lights on top of their heads and was able to pick up a plain ol’ plunger for around $5.

All together my total cost for making two of these costumes was around $25. Thrifty thinking and Geeky Parenting all in one.

Image

If you are a fan of Doctor Who, or a fan of anything geeky, check us out on facebook at

http://www.facebook.com/thegeekyparent


Laundry Basket Baby Tub – Thrifty Thinking

Image

This is my 10 month old Benjamin, who loves baths. The only problem is our tub, even with the grip mat, is slippery. Any water movement makes him wibbly wobbly. He then gets nervous and wants right out.

We considered buying him a seat for the tub, but weren’t liking the idea in investing in something we would only use for a couple months. So we resorted to bathing with him or only giving him a bit of water to play in.

Then the other day, while pulling him around in a laundry basket sled, i remembered something i had seen go through my newsfeed on facebook…Using a laundry basket as a baby bathtub!

Simple, perfect and he loves it! It keeps him from venturing out in the slippery tub and becoming nervous. The sides help him stay upright and there’s enough room left over for big brother in the bathtub too, so they can play together. Not to mention it gives me a reason to stop putting off folding and putting away our laundry haha.

Thrifty Thinking – Regrowing Veggies, Kitchen Gardening.

Did you know that you can regrow some store bought veggies in your kitchen?

Image

We are a heavy on the veggies kind of family. We tend to go through a bunch of green onions, celery, and about a head of romaine lettuce a week (along with a lot of other yummy veggies). What’s great about these veggies in particular is that are very affordable and you can actually regrow them right in your kitchen window, year round!

It’s very simple, very quick and so much fun for the kids to watch. (We used this first try as a science lesson for our four year old son who made a hypothesis and kept an observation journal throughout the project.)

If you’ve ever planted a garden, you may already know that when you cut off the tops of lettuce and green onions, rather then pulling out the bulbs, they will grow new leaves and shoots, remarkably fast. It’s that simple, even in your kitchen window in a cup of water!

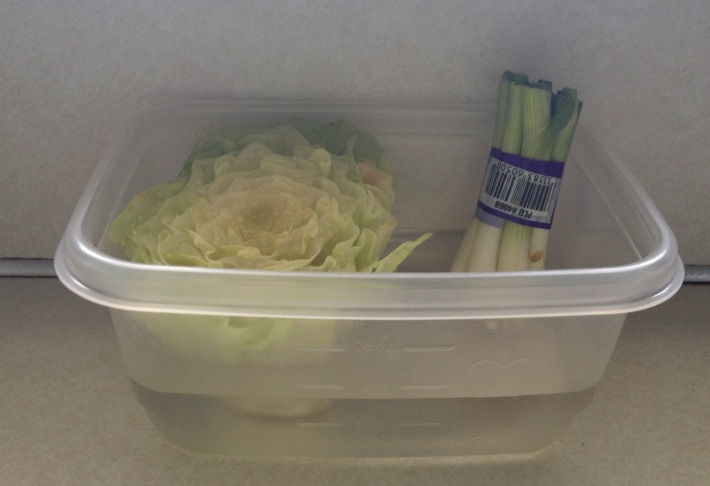
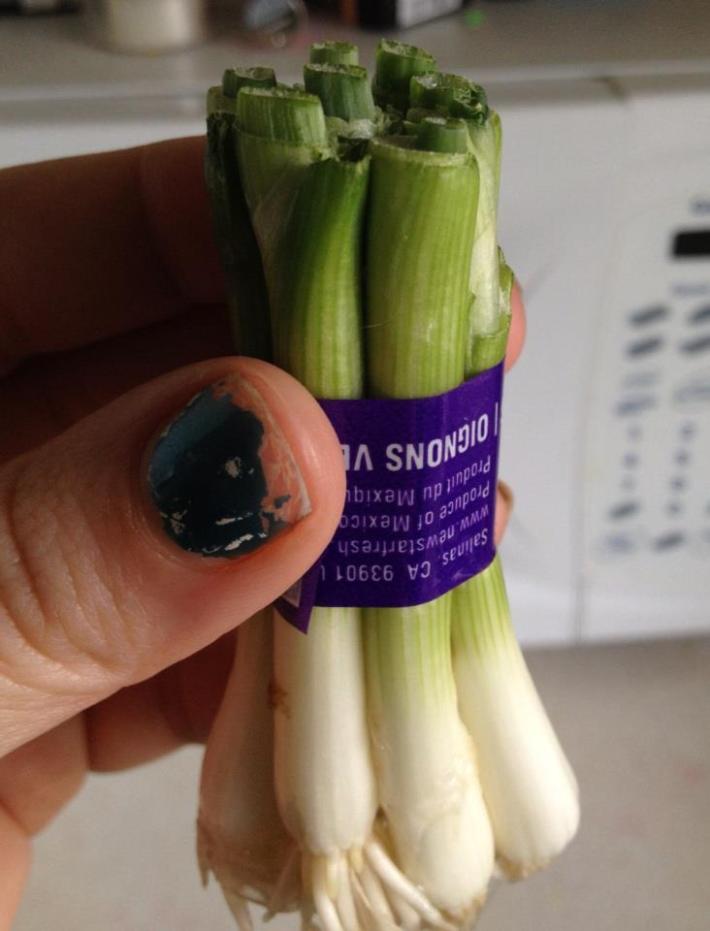
I started out with a head of red lettuce and a bunch of green onions.

I washed them then took my kitchen sheers and cut the lettuce leaves free from the stump and the green onion tops an inch or two away from their bulbs.

I placed them in a Tupperware type container with an inch or so of water. (that I changed every day) This photo was taken the morning after.

Image

After one night the onions were already noticeably growing back.

Image

The lettuce was a bit slower but did end up growing back as well. Every couple of days i would cut off and use the regrow then my stumps would just start growing right back. It was quite an interesting project that I think we will keep up, rather then just throwing the stumps away.

Thrifty Thinking – Making That Yogurt Greek Style

We are big yogurt eaters in our home. Yogurts are made using active, good bacteria. Probiotic, which literally means ”for life,” refers to living those organisms that can result in a health benefit.

Image

In fact, we love yogurt so much was have replaced all sour cream usage in our home with a dollop of plain yogurt instead. And cream cheese? We substitute it for plain greek style yogurt.

We love greek style yogurt, but at $1.50 a single serving container? Come on now, for just a few cents more I can buy the 32 oz container of the regular ol’ yogurt.

Luckily after some research and a bit of experimentation I have come up with a easy way you can buy the cheaper, regular ol’ yogurt, and turn into the amazing greek style yogurt we all love, for a fraction of the cost. It even tastes better then what i’ve bought in the store.

The only difference between greek yogurt and regular yogurt is that greek yogurt is strained removing much of the whey, which is the water content, leaving it thicker. So really all you need to do is strain the yogurt and add some flavor.

BUT! the whey in yogurt is amazing. It is full of calcium, potassium and vitamin B-2. It also contains several amino acids and other compounds identified with boosting immunity, (including casein and immunoglobulins.) So I will also show you how I save that whey and what I use it in.

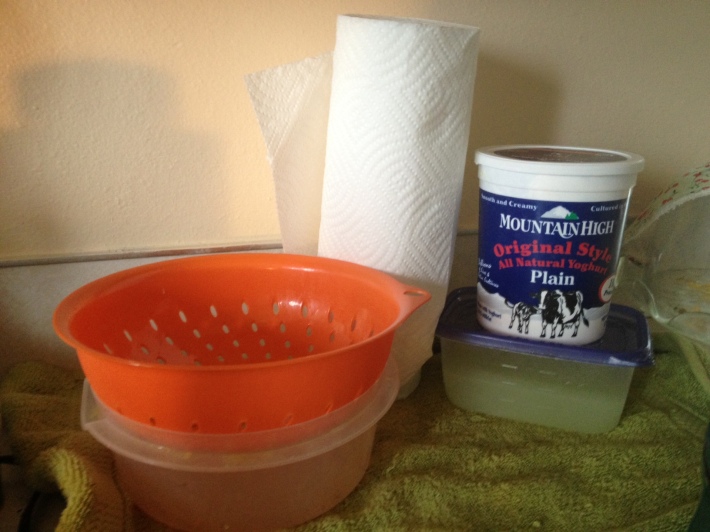
I started this blog after I had already strained my yogurt (note the whey covered collection bowl and filled container), so I don’t have pictures of it actually straining. Sorry.

So here is how i make that yogurt greek!

You will need

  • 1 small strainer
  • A bowl that the strainer will not fall down into but rest upon
  • Cheese cloth, or even paper towels work! (I’ll show you with paper towels, thinking thrifty here.)
  • 1 32 oz container of regular (not lowfat) yogurt
  • 1 small tupperware container (to save the collected whey)
  • Fruit, juice, jam… (whatever you want to flavor your yogurt with.)

Image

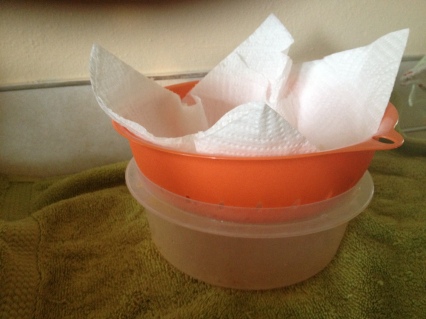
Start out by lining the bottom of your strainer with two paper towels and then set your strainer on top of the bowl for the whey to drip through.

Next, fill the strainer with the entire container of yogurt. Spread it around to make sure its evenly spread out and not in just one giant lump in the middle.

Image

Now you need to wait, for about 4-6 hours. You can set it in the fridge, but I find that can slow down the straining process. When yogurt warms up it separates faster, so I leave mine on the counter and refrigerate immediately afterwords.

You will notice that yellowy water is straining from the yogurt and after a few hours the yogurt will start to look thicker.

After the straining is done (the yogurt will look and feel like soft cream cheese and your collecting bowl will contain yellow, watery, whey)

Image

You now have greek style yogurt!

Put the yogurt back into its container and pour the whey into the container to store in the fridge. (You can ring the remaining whey in the paper towels out into the container as well.)

At this time I take a couple spoonfuls of the greek style yogurt to store in a separate container to use as a healthier substitute to cream cheese.

You can keep your yogurt plain or add in fruits and juices. (I like to add some pineapple juice and a spoon of marmalade.)

Image

Now what to do with that whey?

You can toss the whey, but I wouldn’t. Like I said before it’s full of healthy goodies.

I add a couple tablespoons into our milks and juices. Once mixed its tasteless, add it to anything you can think of! It’s a good little health boost.

Are you a big yogurt eater?

If you try this, let us know what you mixed into your yogurt. I am always looking for new flavor ideas.

Check us out http://www.facebook.com/Thegeekyparent